STI screening
self-collection guide
Before you start, read this guide and the manufacturer’s instructions for your collection equipment. Follow each step exactly, using only the included equipment – an incorrectly collected sample can give an inaccurate result, including a false negative. Your STI screen includes equipment for just the samples your doctor selected when reviewing your request.
Don’t use this equipment if...
- You believe you may have been exposed to HIV in the last 72 hours – visit Get PEP (opens in new tab) or attend a sexual health clinic (opens in new tab), urgent care clinic (opens in new tab) or emergency department (opens in new tab) ASAP. If something happened without your consent, 1800RESPECT (opens in new tab) is also available 24/7 for free, confidential support.
- You have symptoms of an STI – rash or itching in the genitals, unusual discharge from the genitals, burning when you pee, sores or bumps on the things you use for sex, pain in the genitals or lower belly, or bleeding after sex – attend a sexual health clinic (opens in new tab), GP clinic (opens in new tab) or urgent care clinic (opens in new tab) ASAP.
- Anything is missing, damaged (including a broken seal) or expired – email us at hello@prickly.com.au to arrange replacement.
A few important things to keep in mind
- You can screen any time, but it’s worth knowing how long after exposure an STI becomes reliably detectable on at-home screening:
- Chlamydia & gonorrhoea: 2 weeks
- HIV: 12 weeks
- If you’ve recently been treated for chlamydia or gonorrhoea, you should wait until 4 weeks after treatment before completing your screen – residual genetic material from the treated infection can still produce a positive result.
- If you feel faint, unwell or in pain at any point, stop and attend a sexual health clinic (opens in new tab), GP clinic (opens in new tab), urgent care clinic (opens in new tab) or emergency department (opens in new tab) ASAP. Always call 000 in an emergency.
Step 1: Collect your lab samples
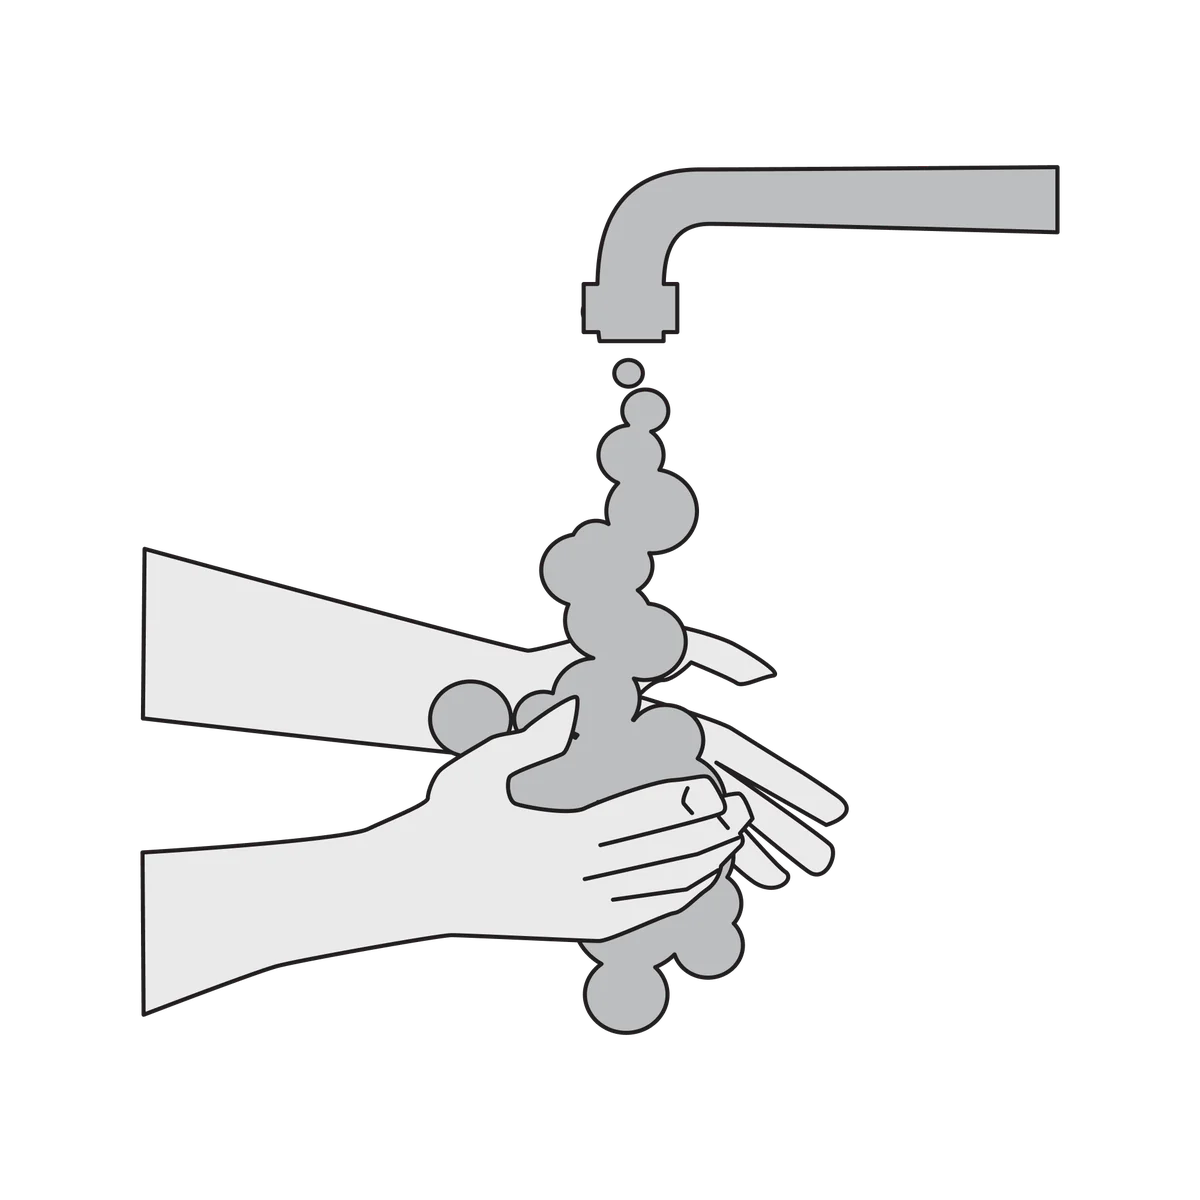
Wash your hands with soap and water before and after collecting each sample. Use a separate swab for each site and return each swab to its own tube. To avoid contamination, don’t let the swab tip touch anything except the site you’re swabbing, and don’t touch the inside of the urine container or its lid.
Anal swab
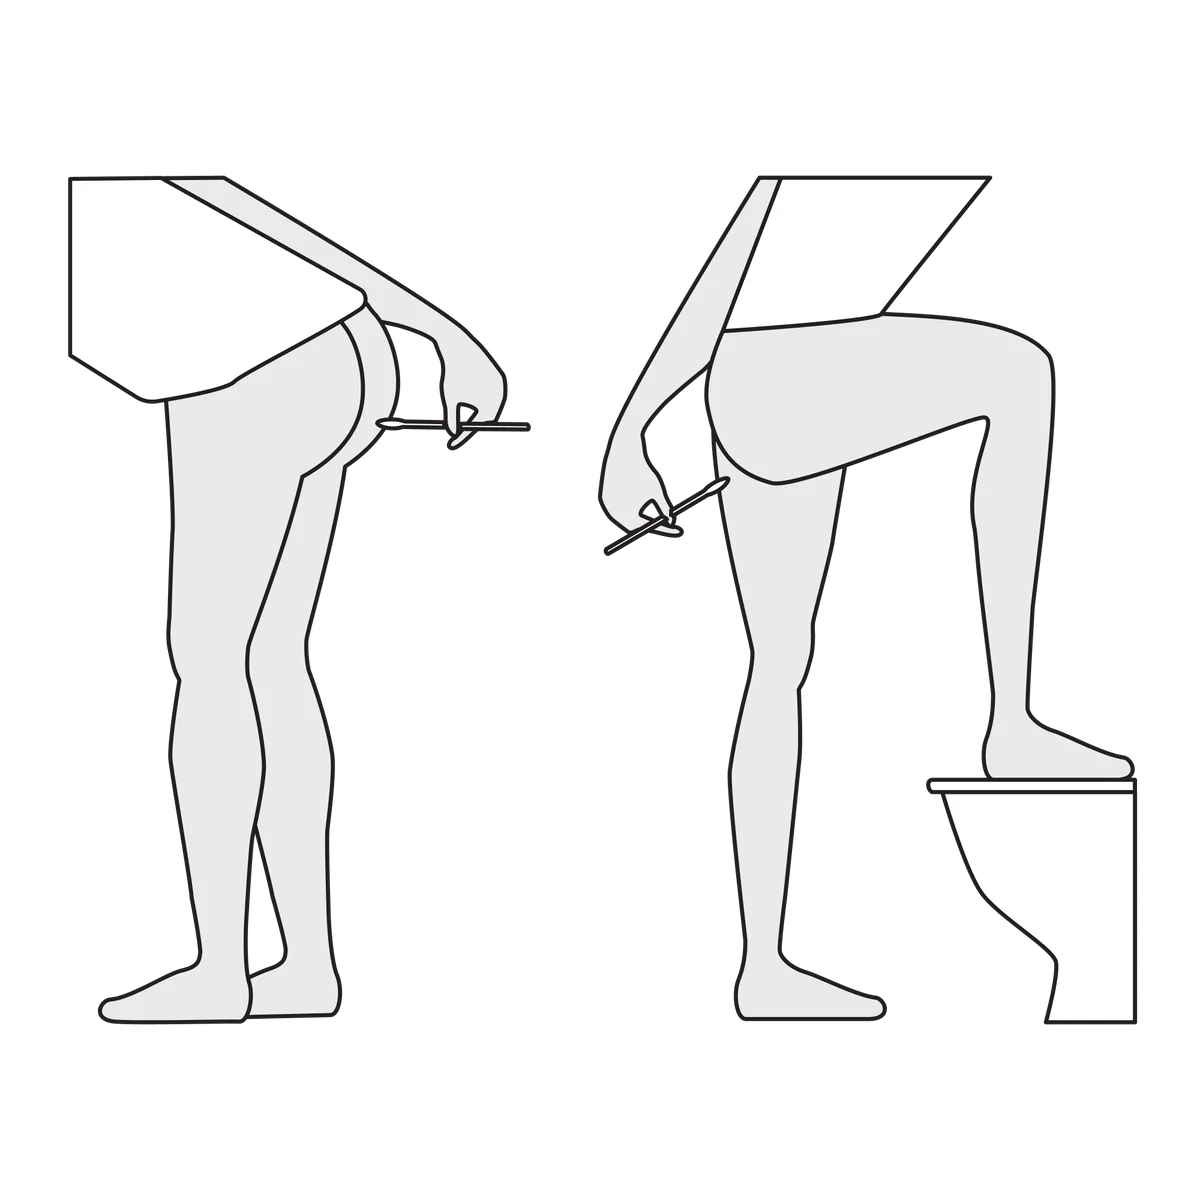
- Sit or stand in a comfortable position.
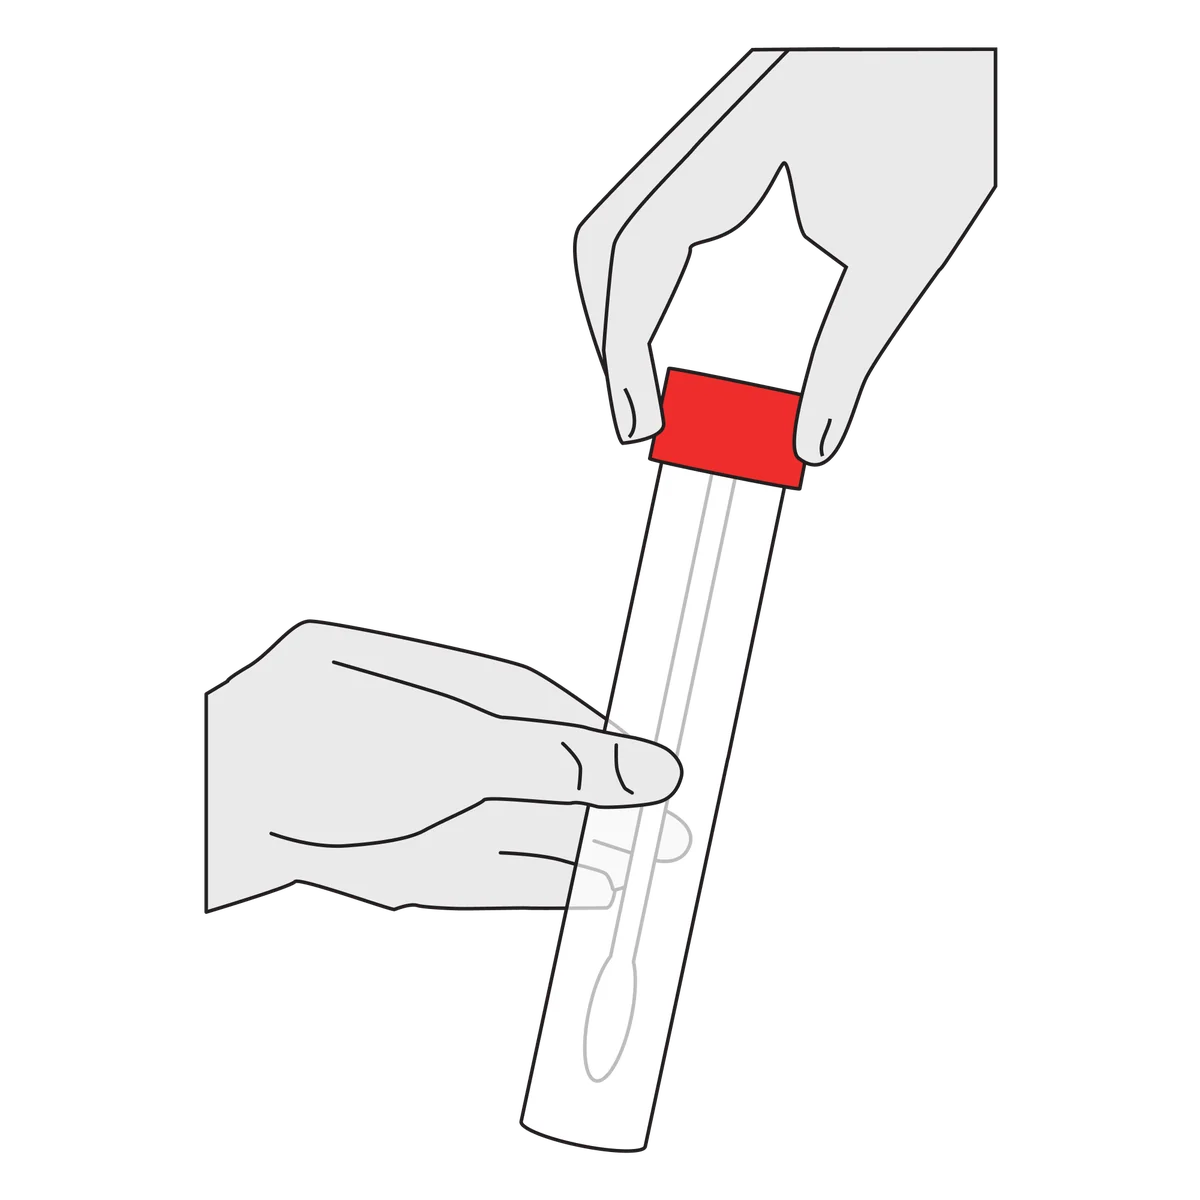
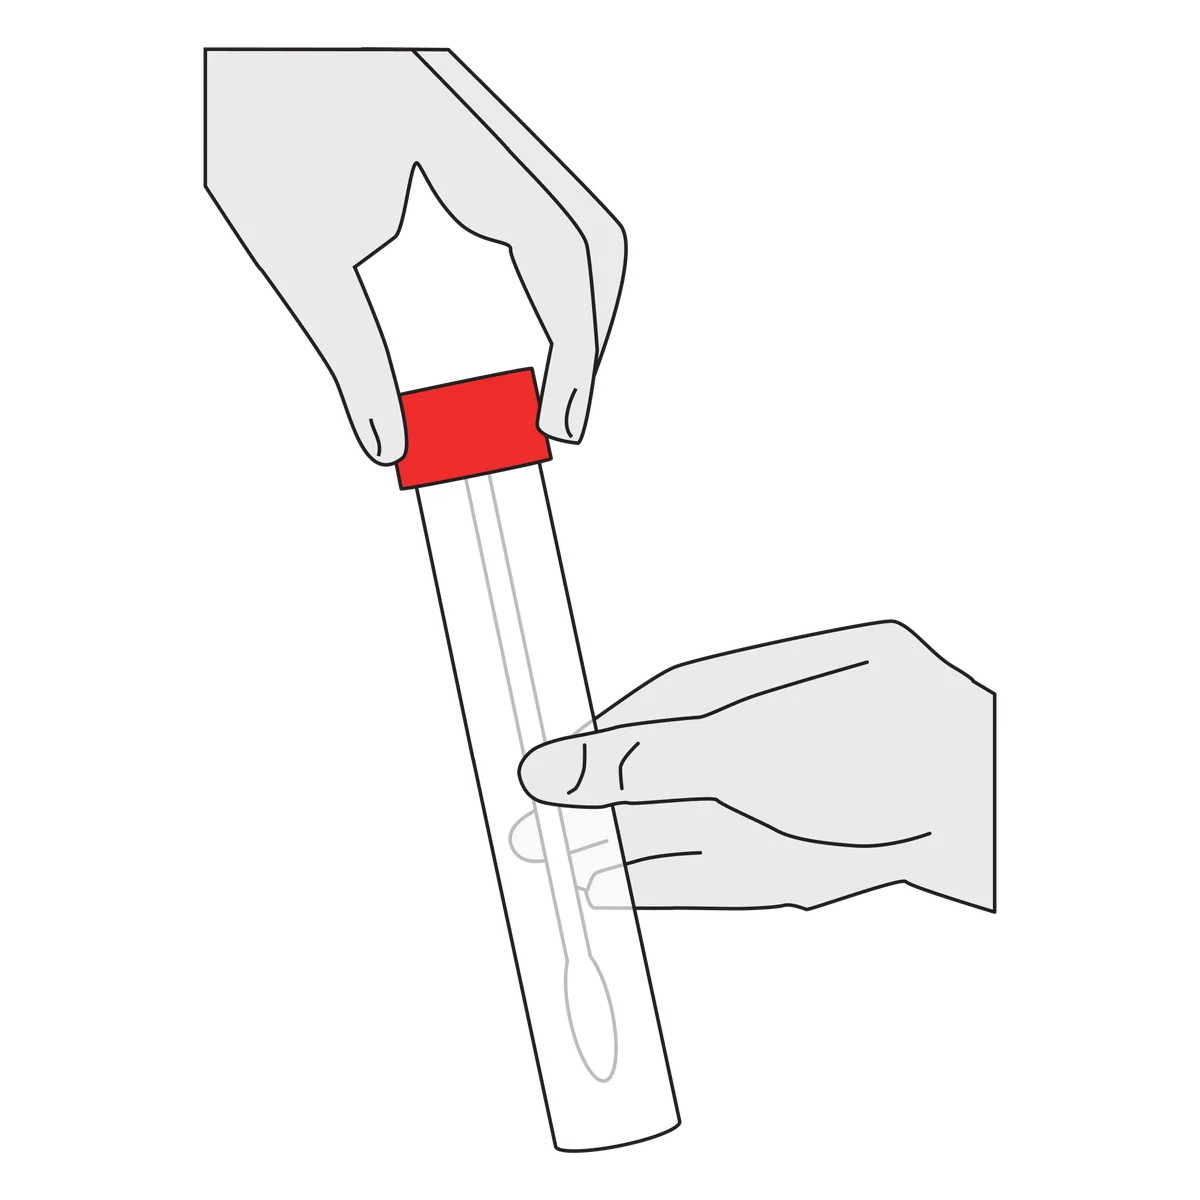
- Holding the swab by the red top, remove the swab from the tube.
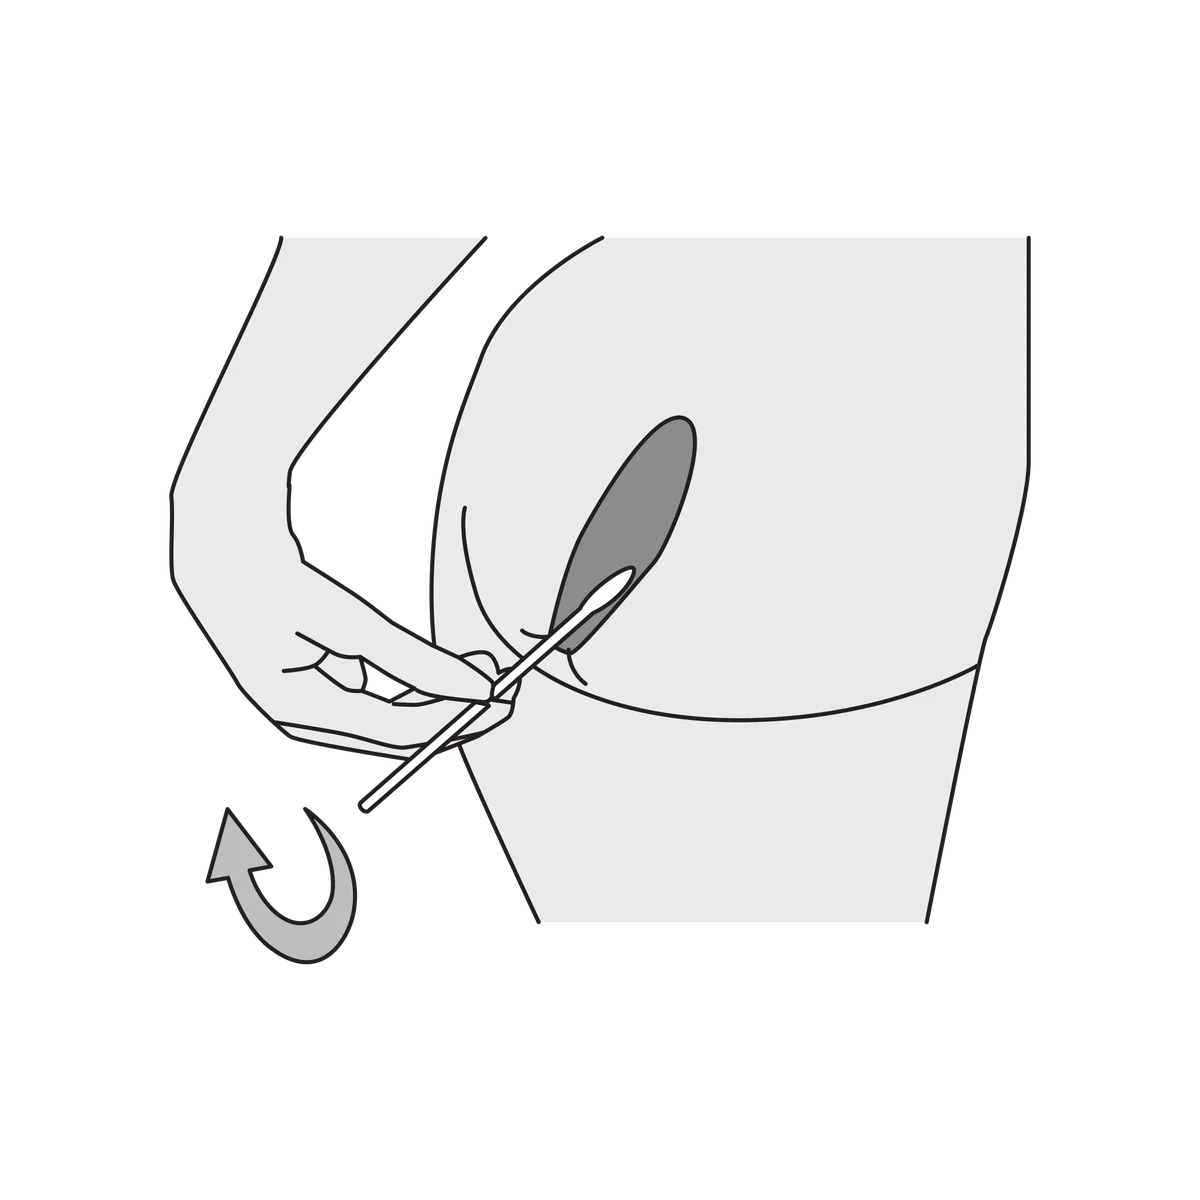
- Separate the buttocks with one hand and gently insert the swab 3–4cm into your anus. Twist the swab for 10 seconds.
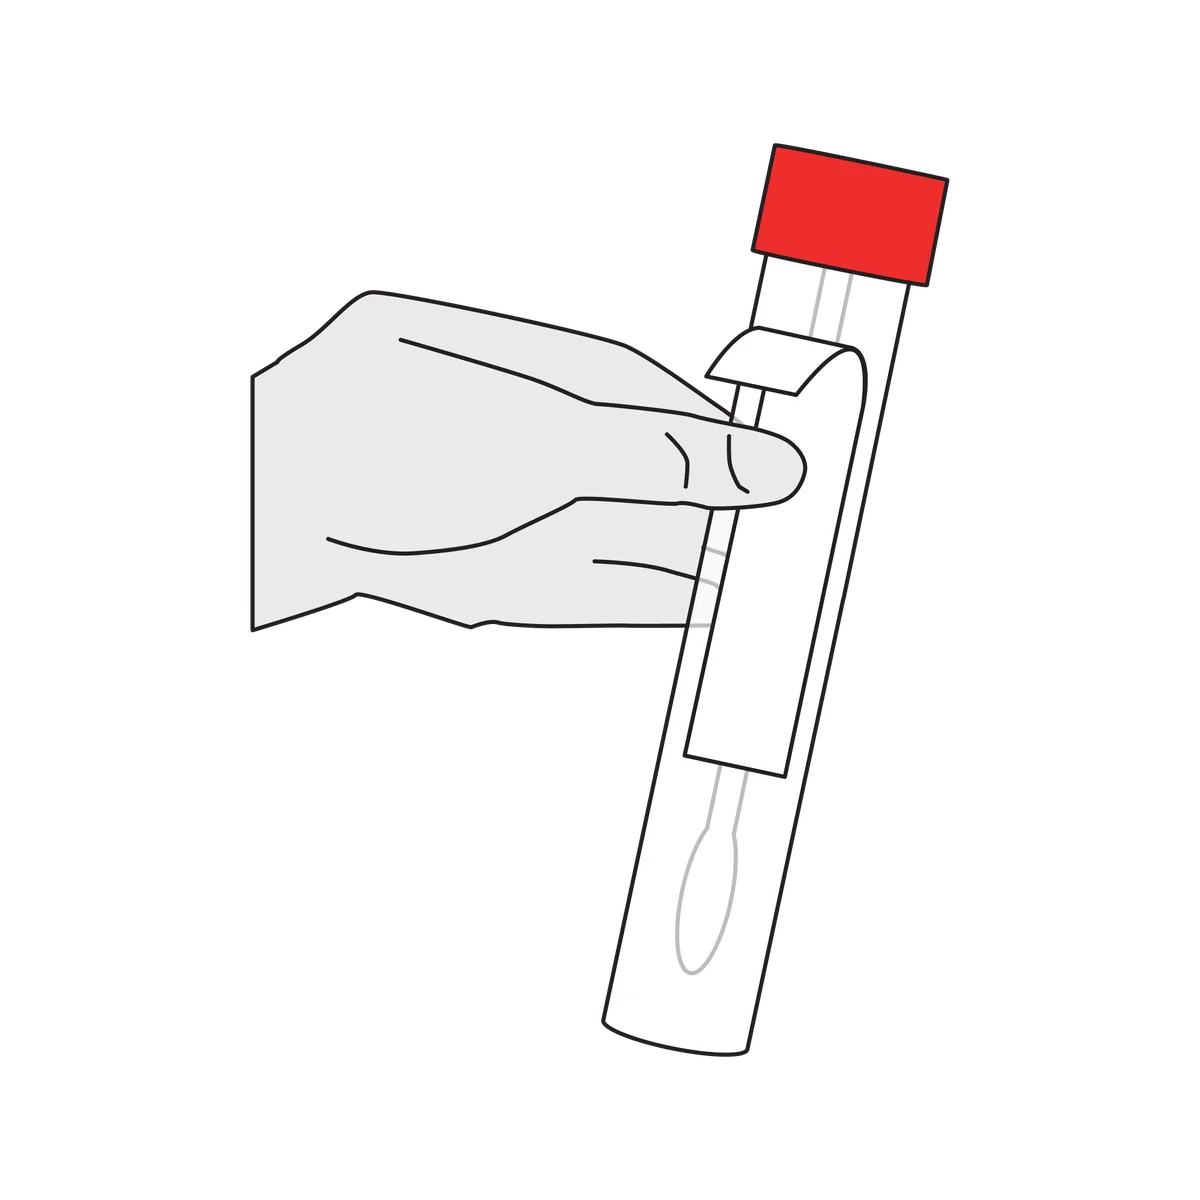
- Carefully withdraw the swab and place it back into the tube.
- Stick the Anal swab label to the swab tube.
First pass urine
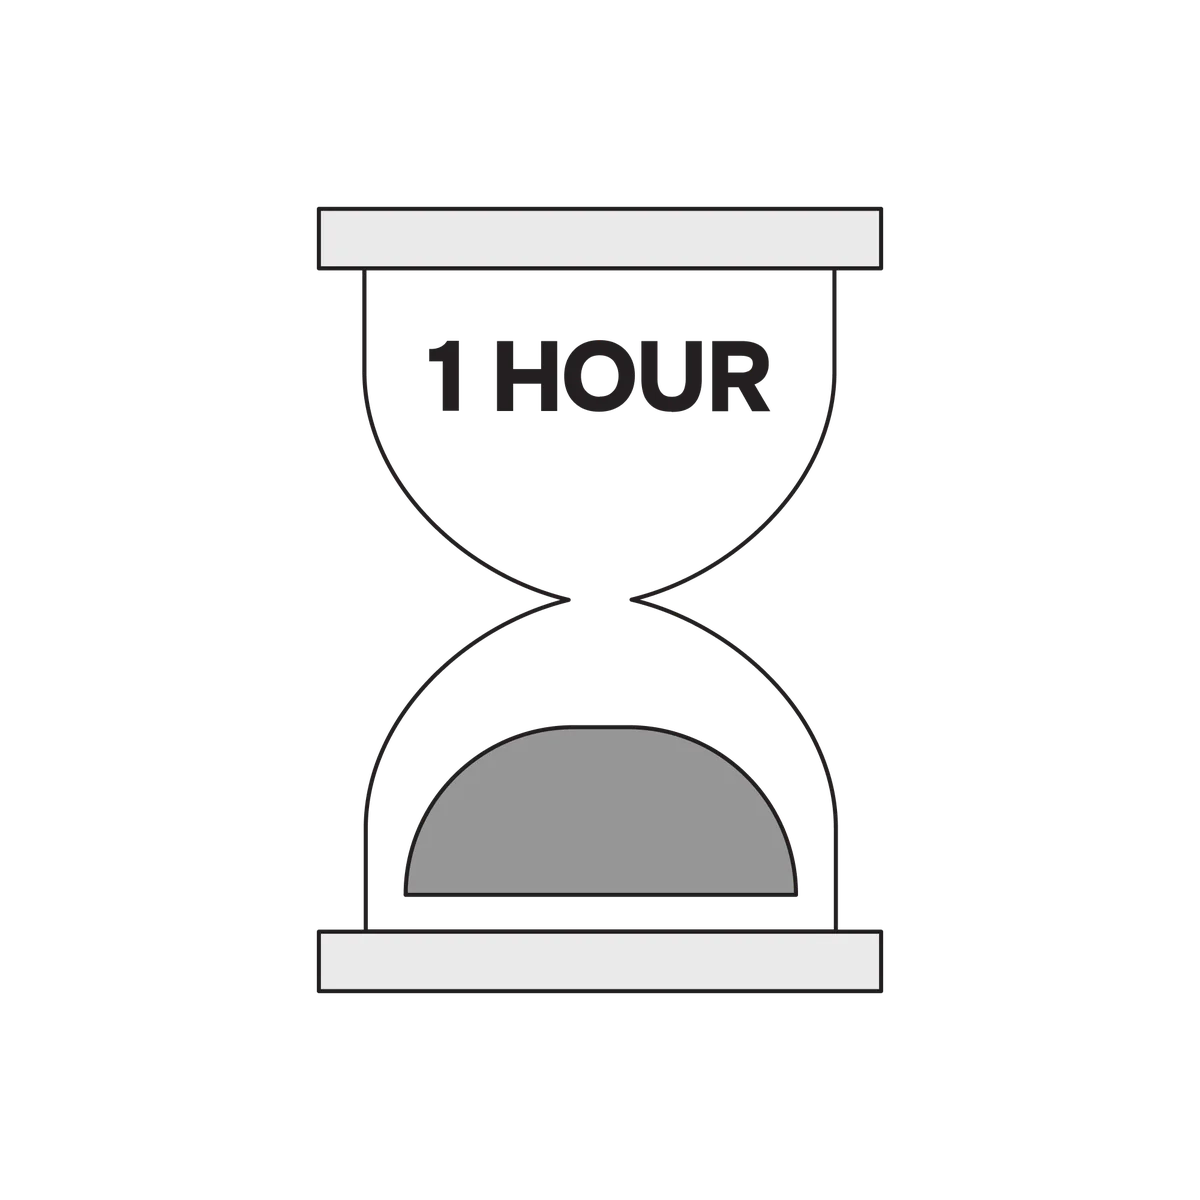
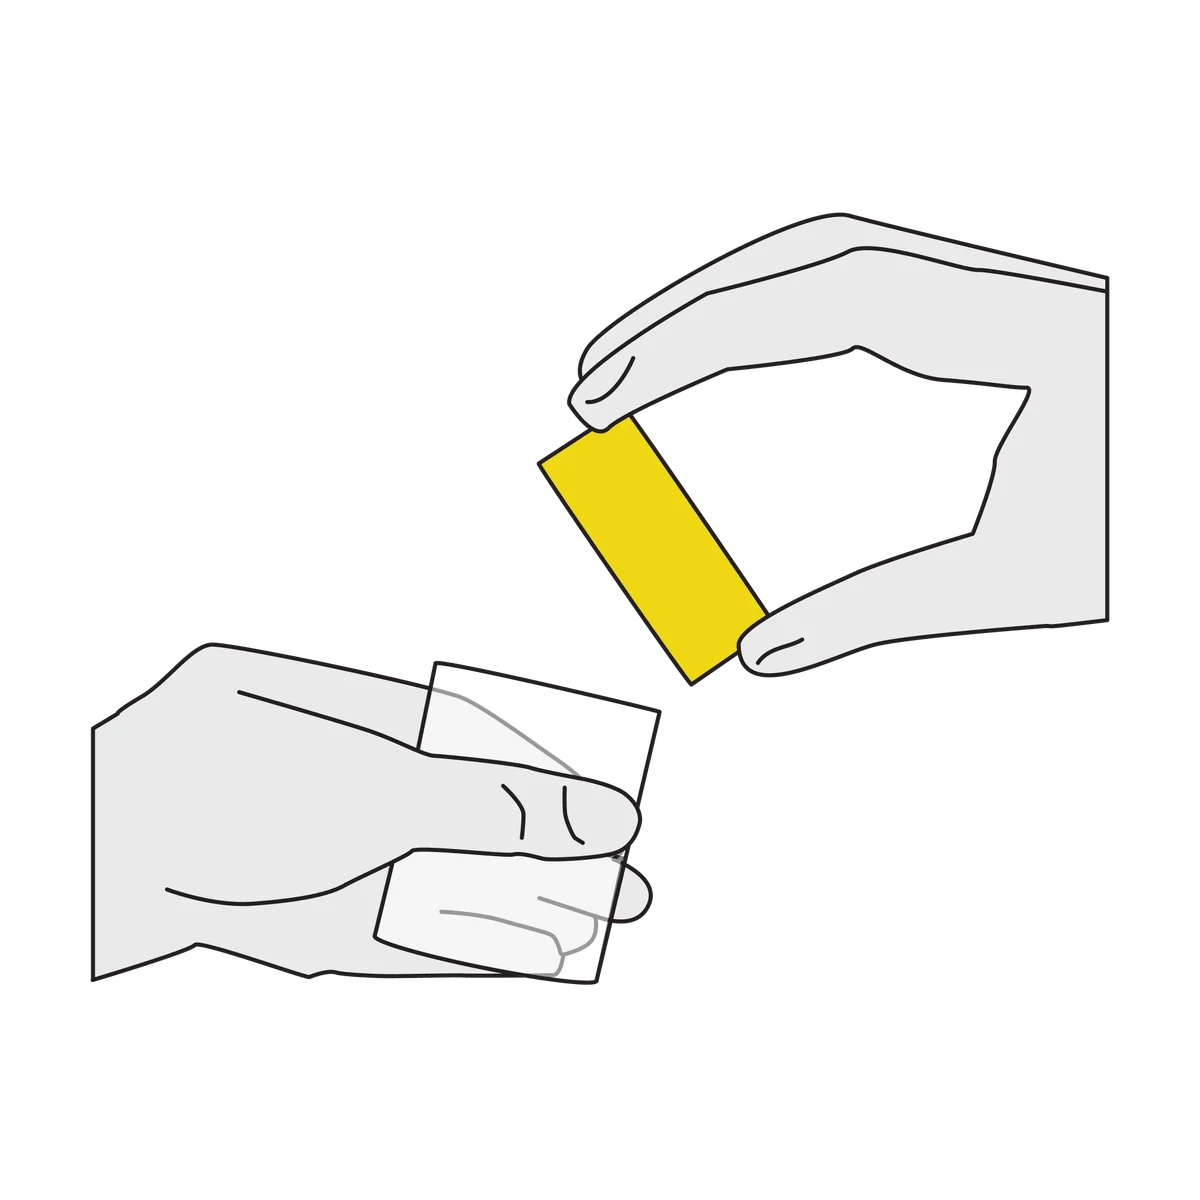
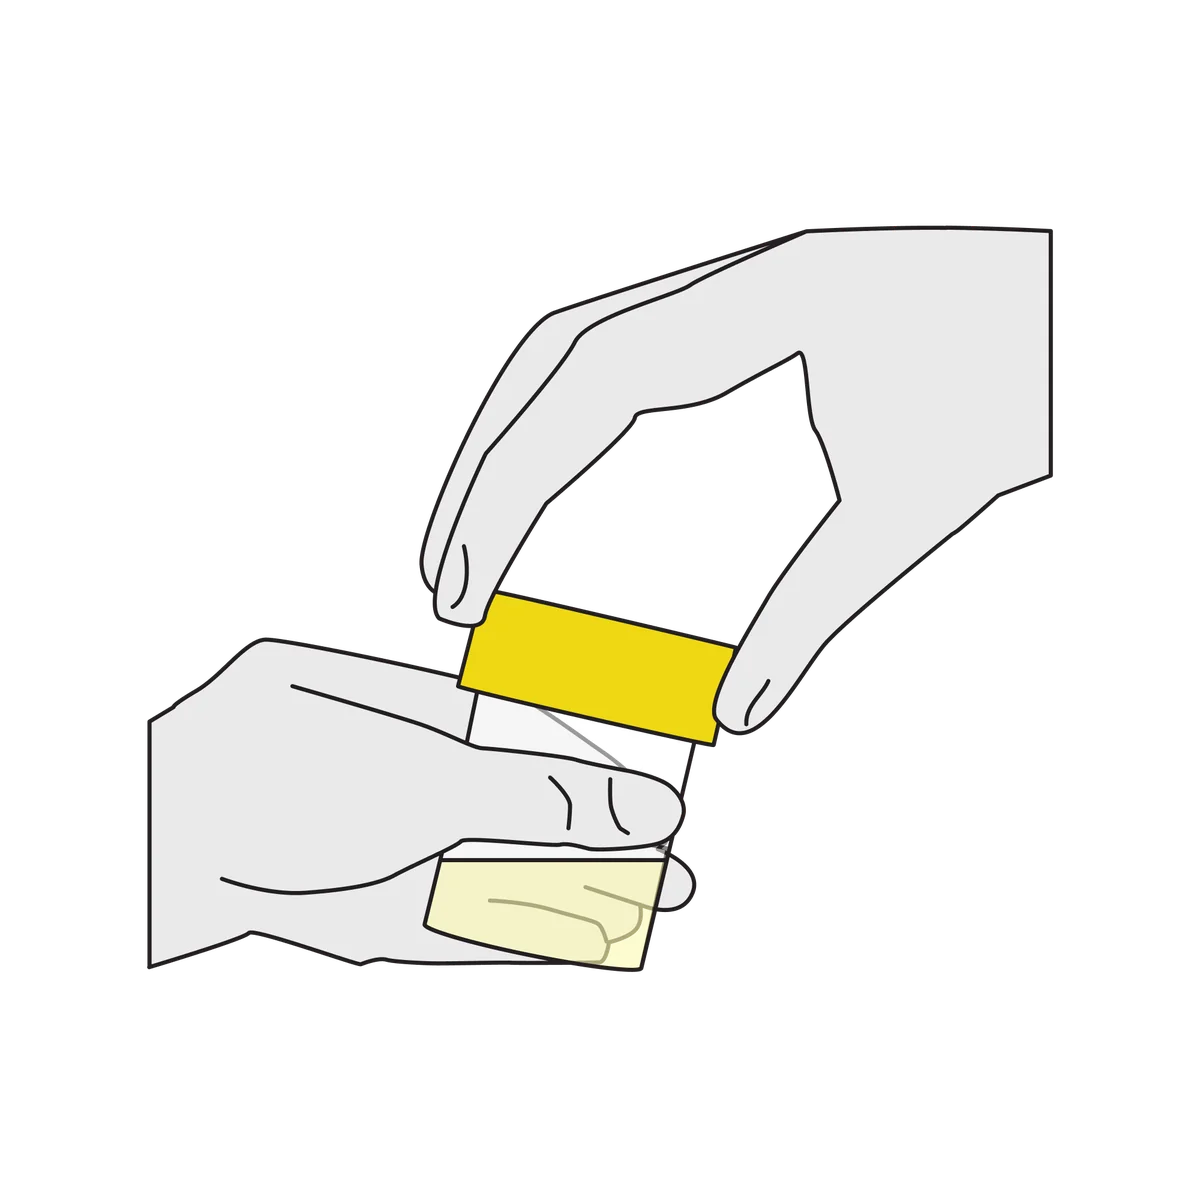
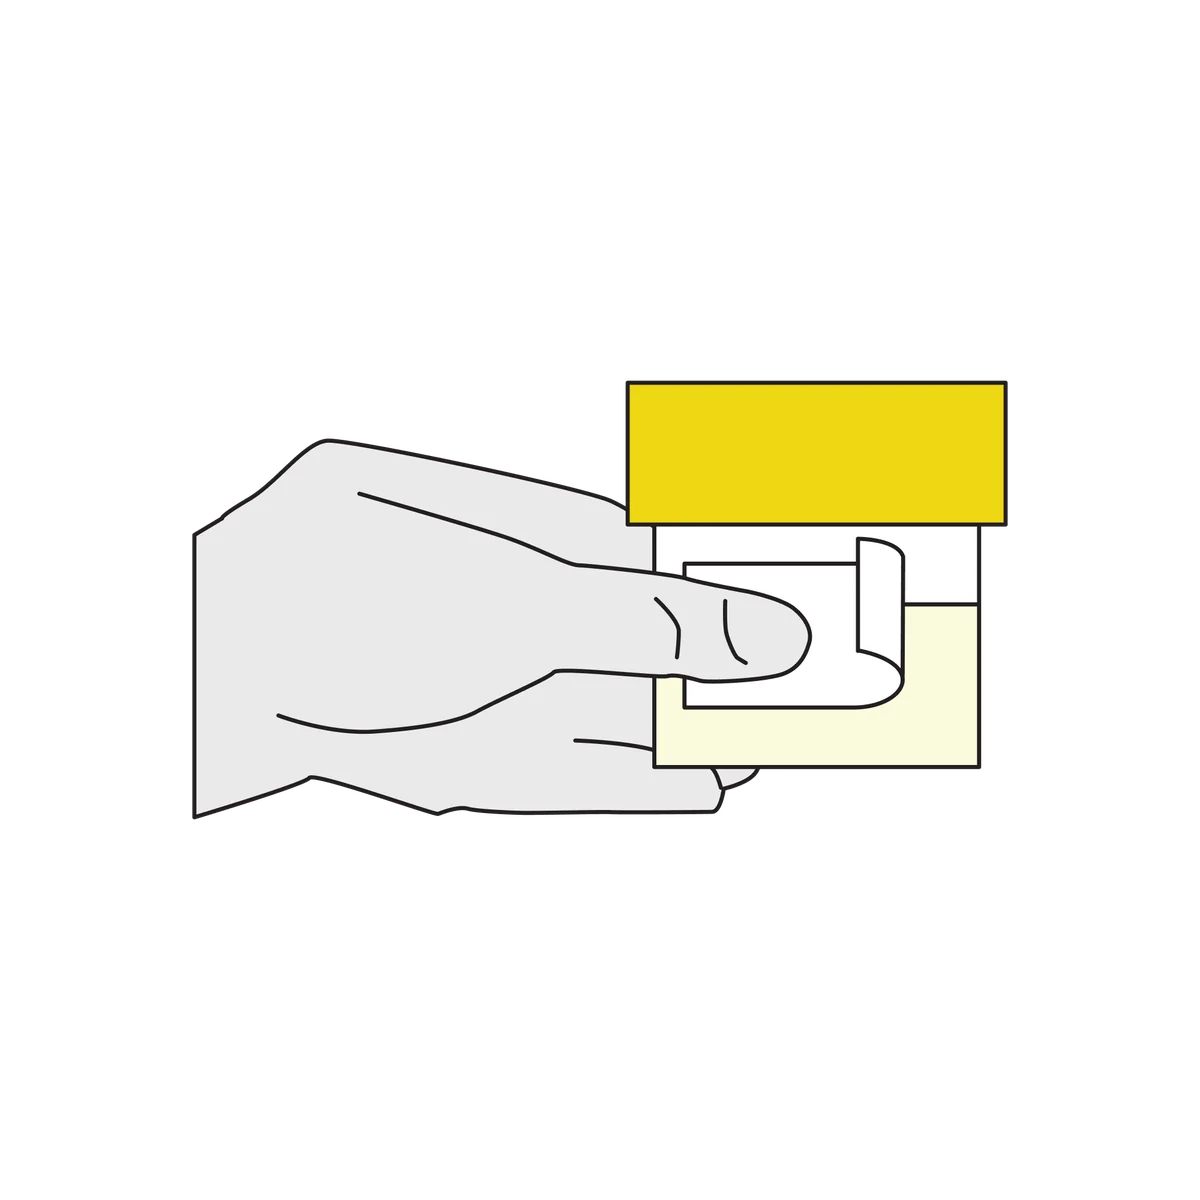
- Make sure you haven’t peed for at least 1 hour before continuing with the next steps.
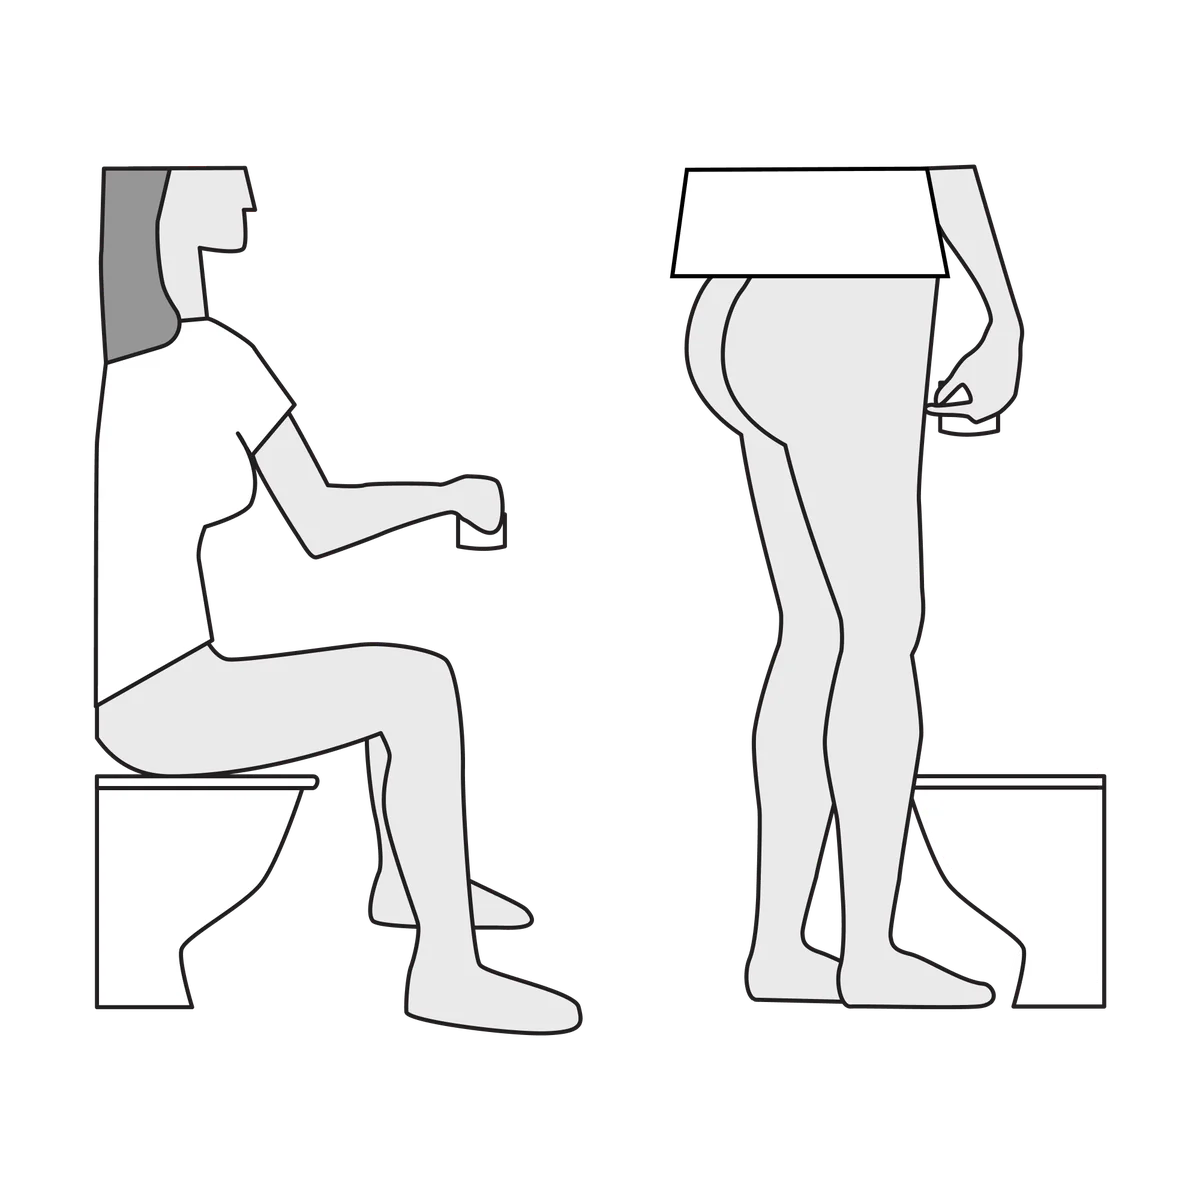
- Sit or stand in your normal peeing position.
- Unscrew the lid of the container and pee the first part of your urine into it. Stop once the container’s about 1/3 full (20ml).
- Screw the lid firmly back on the container.
- Stick the First pass urine label to the urine container.
Throat swab
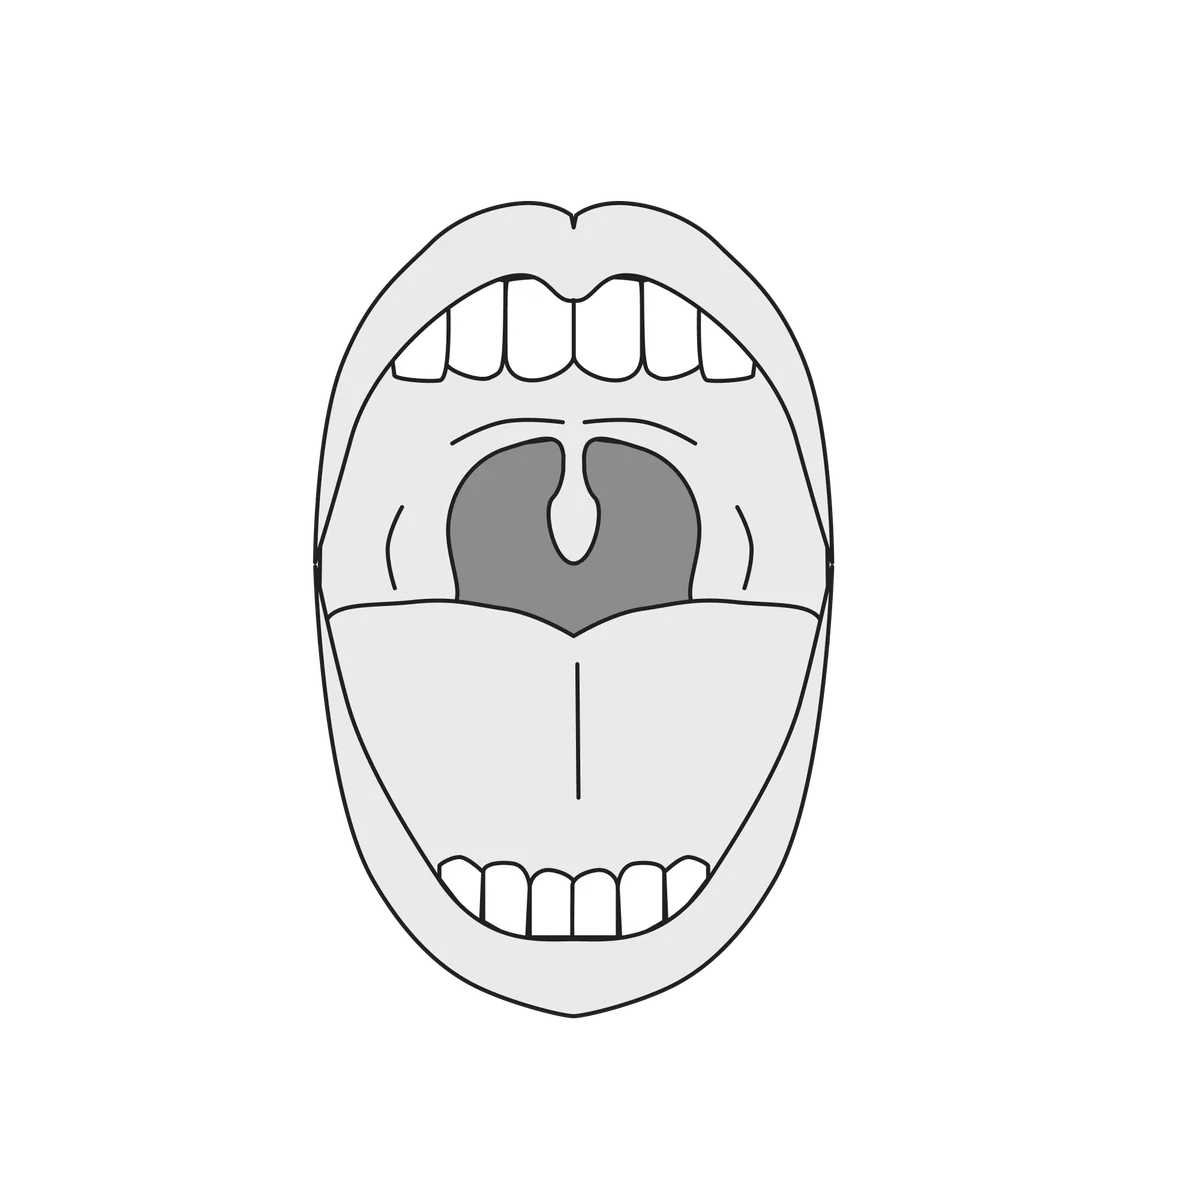
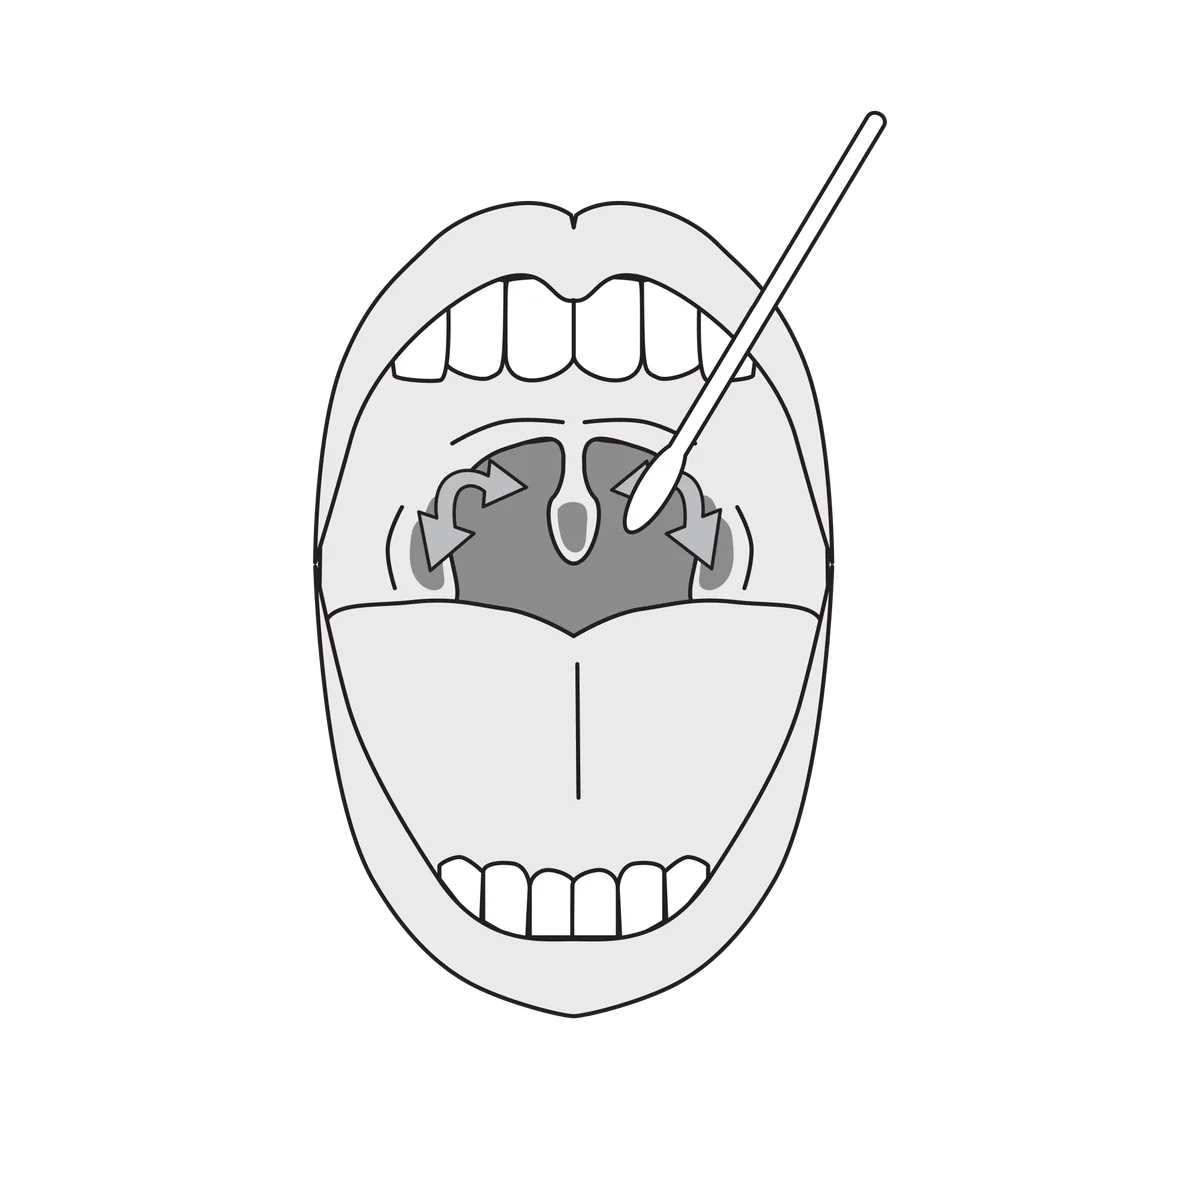
- Look in a mirror and open your mouth as wide as you can.
- Holding the swab by the red top, remove the swab from the tube.
- Gently wipe the swab over the tonsil area on both sides and the back of the throat. Wipe the swab for 10 seconds.
- Carefully withdraw the swab and place it back into the tube.
- Stick the Throat swab label to the swab tube.
Vaginal swab
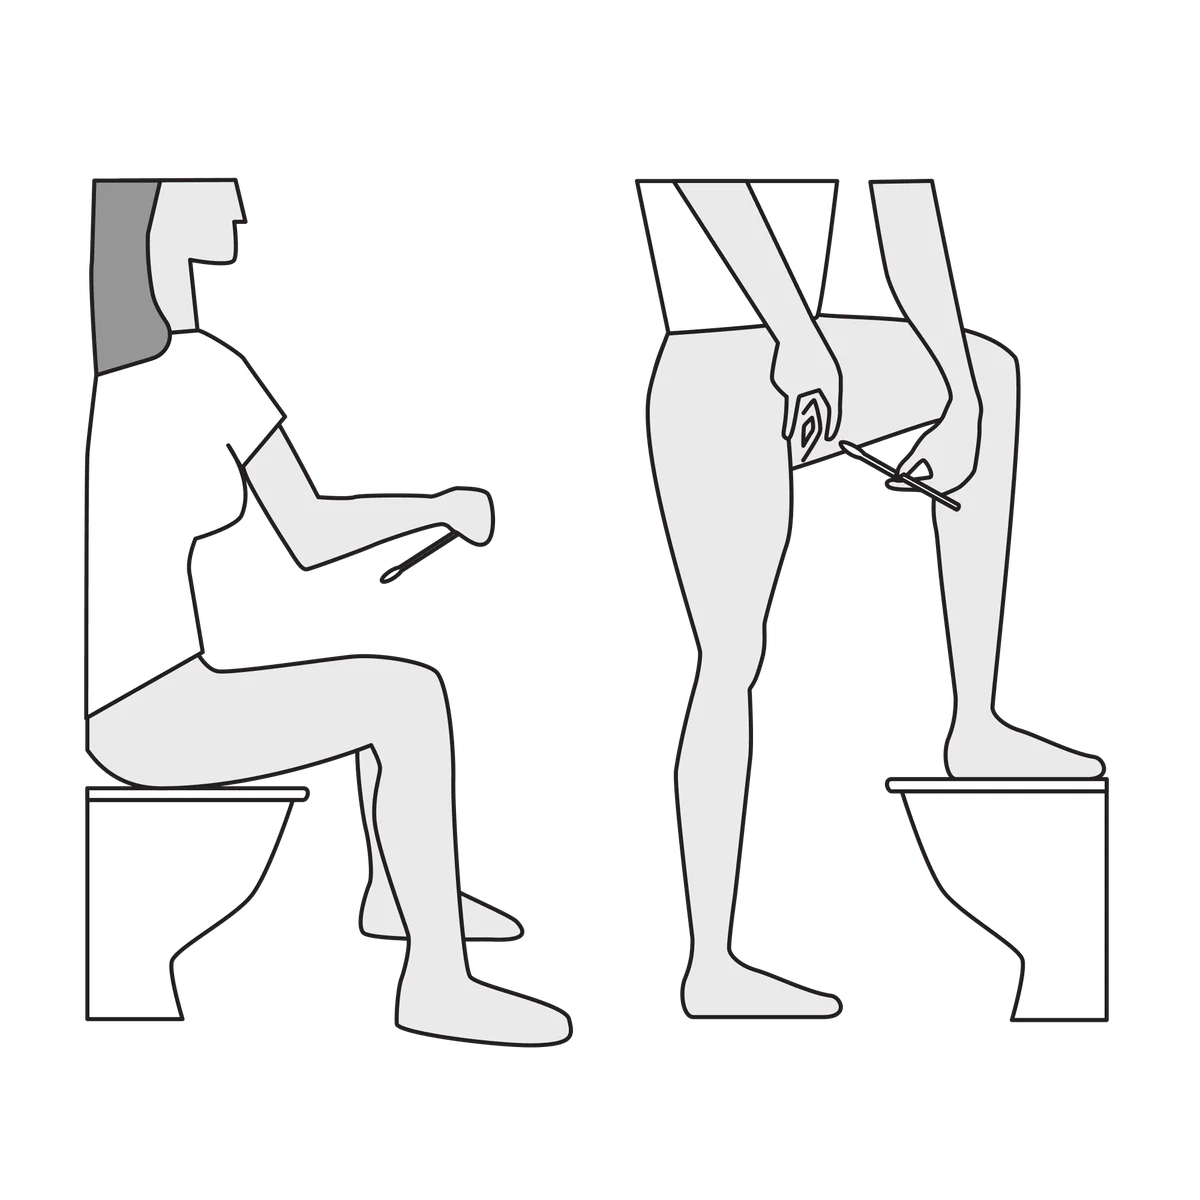
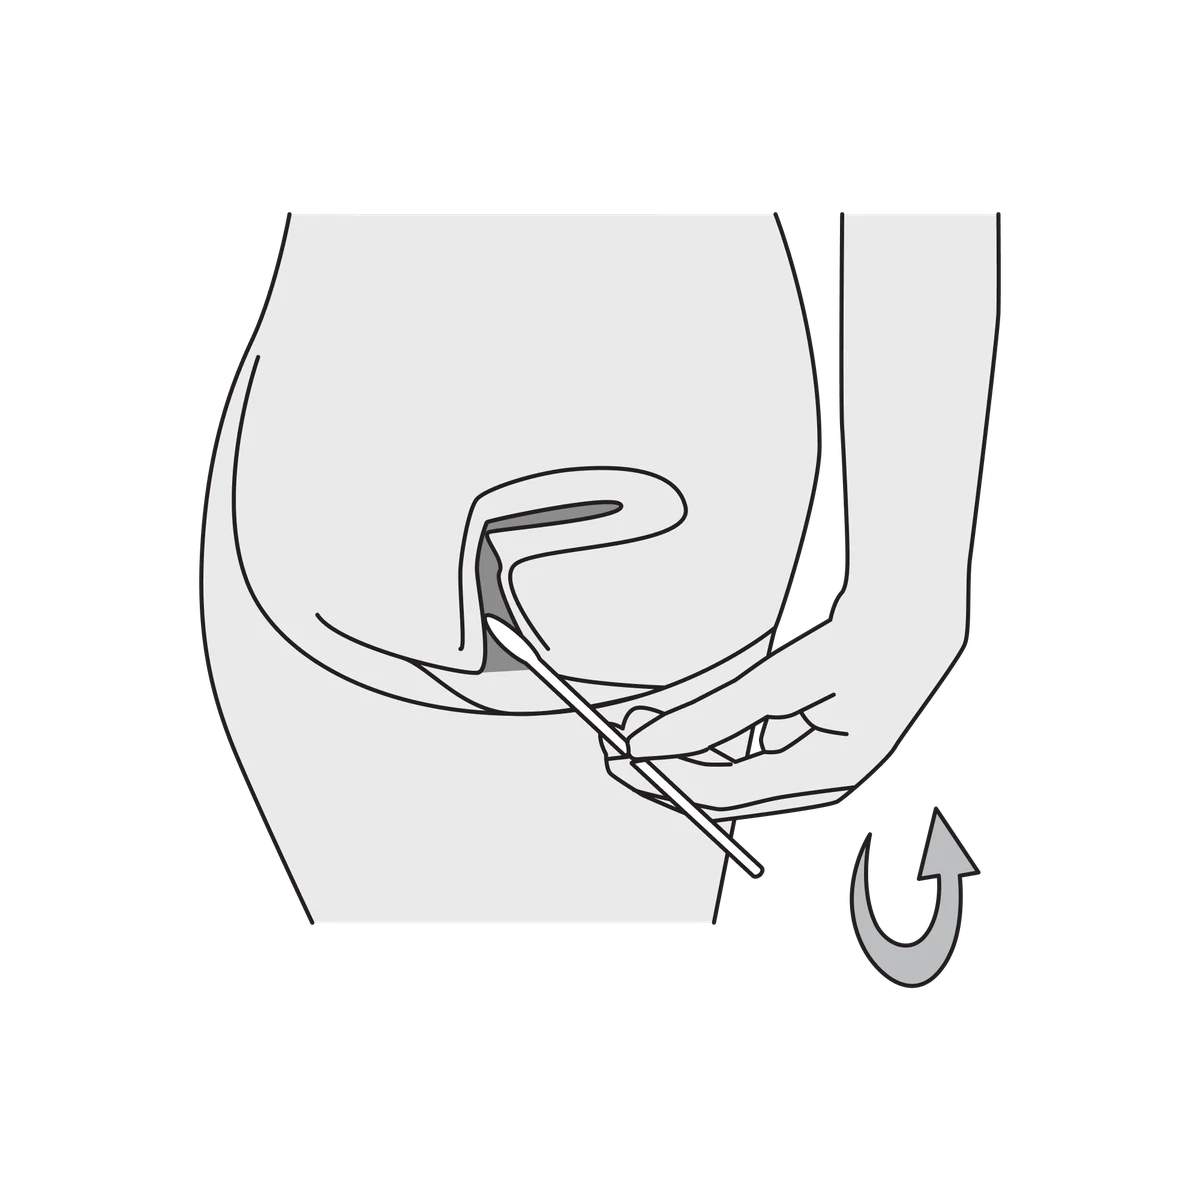
- Sit or stand in a comfortable position.
- Holding the swab by the red top, remove the swab from the tube.
- Separate the labia (lips) with one hand and gently insert the swab 2cm into your vagina. Twist the swab for 10 seconds.
- Carefully withdraw the swab and place it back into the tube.
- Stick the Vaginal swab label to the swab tube.
Step 2: Complete the fingerprick HIV self-test
Watch the manufacturer’s how-to video at atomohivtest.com.
The Atomo HIV Self Test is a screening test for HIV antibodies. It may not detect HIV from the last 3 months, so see a doctor if exposure was possible in that time. A positive result needs confirmatory lab testing requested by a doctor. Always read the label and follow the directions for use (opens in new tab).
If your self-test reads positive or doesn’t work, see a sexual health clinic (opens in new tab), GP clinic (opens in new tab) or urgent care clinic (opens in new tab) ASAP. You can always book a telehealth follow-up appointment if you want to talk things through.
Step 3: Fill & sign the pathology request form
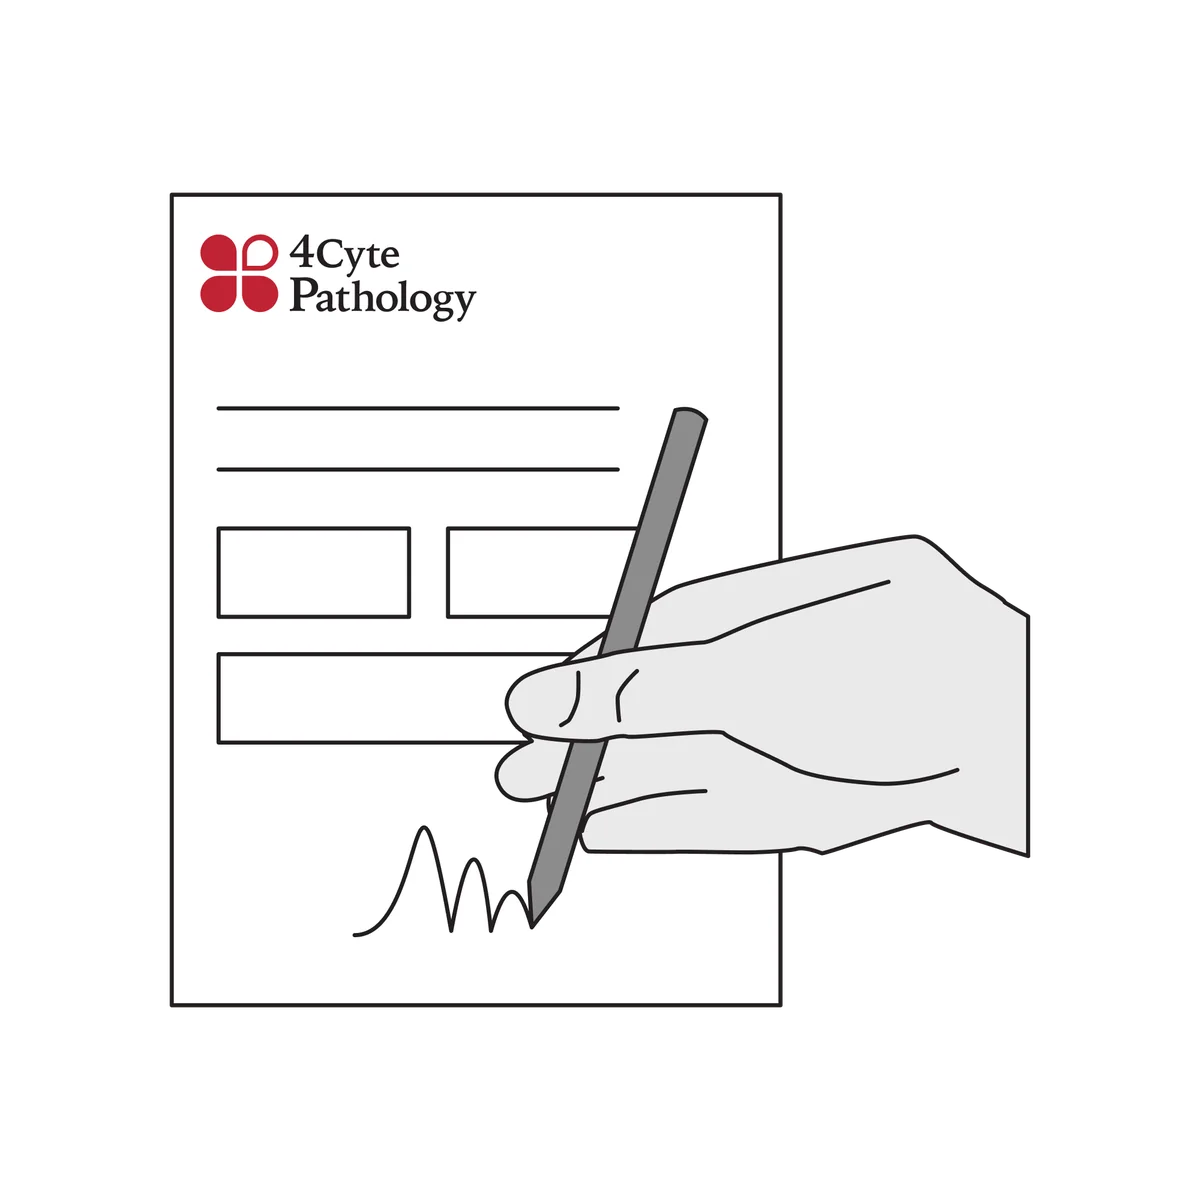
Ensure you complete all three steps marked on the pathology request form.
Step 4: Pack & send your lab samples
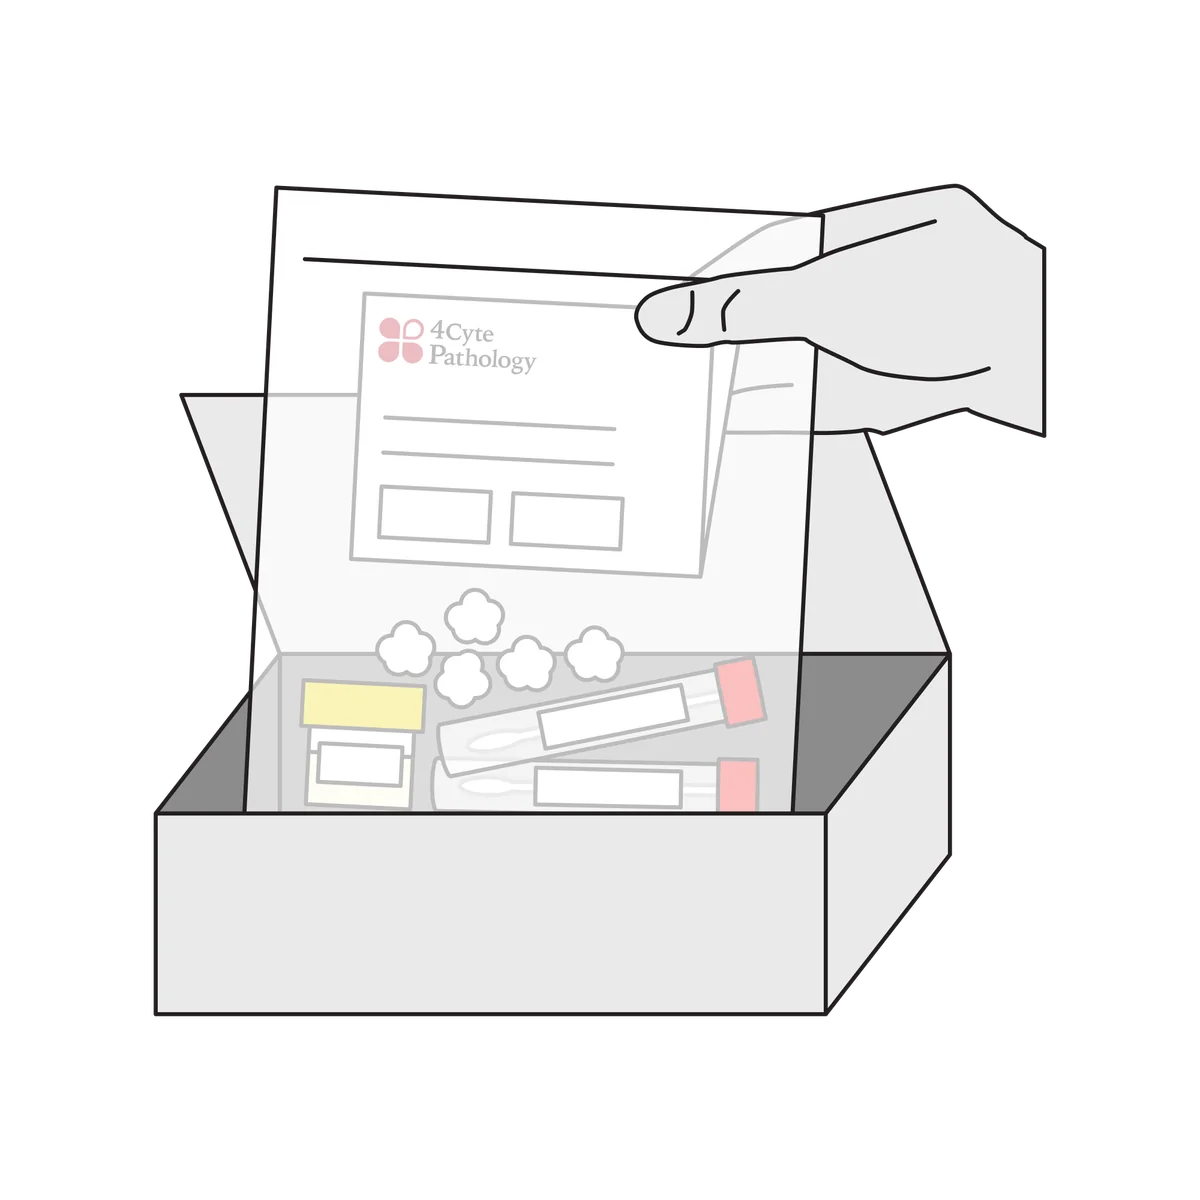
- Ensure you’ve completed all lab samples and stuck the labels to the correct equipment.
- Place your labelled equipment (and the included cotton wool balls if you’ve collected a urine sample) in the sealable section of the specimen bag and press the seal closed along its full length. Don’t include the used HIV self-test – it goes in its disposal bag and your household rubbish. Include the completed and signed pathology request form in the open section of the specimen bag.
- Put the specimen bag back in the mailer box, stick the included prepaid return label over the original label, and re-seal it.
- Drop the sealed mailer box at any Australia Post Office, red street posting box or Parcel Locker the same day you collect your lab samples – ideally Monday to Wednesday for the quickest shipping.
Illustrations adapted from Specimens for Sexually Transmitted Infections, a self-collection card produced by the NSW STI Programs Unit (NSW Health), April 2020 – stipu.nsw.gov.au (opens in new tab).